
Hi everyone!
My skin is extremely sensitive, and it's always hard to find a makeup remover which doesn't sting or burn my skin, but half the time these sensitive formulas seem to not do a great job at getting all the product off my face. So it's a hard battle between having a great product and stinging skin OR having the nourishment in a makeup remover but waking up with panda eyes the next morning.
I've done a bit of research and tried out different makeup remover ideas, and this one seemed to work the best! As summer is on it's way and our skin is going to need all the moisture it needs, I thought I would share with you this handy DIY which you can make time and time again!
You will need:
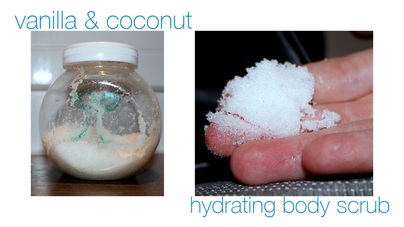
- 2 tablespoons of coconut oil
- 2 tablespoons of baby shampoo
- 13 tablespoons (or one cup) of cold water
- a mason jar
- cotton wool pads
Method:
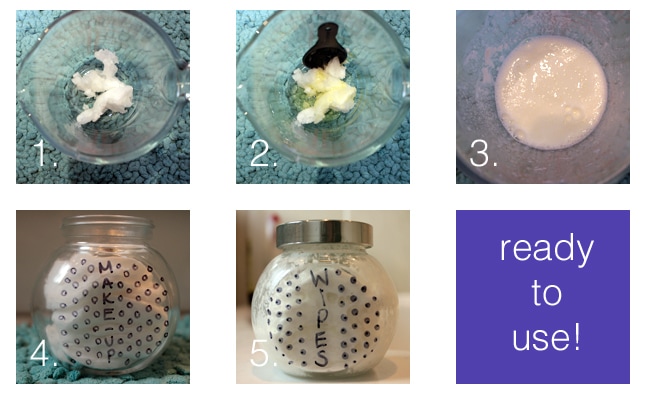
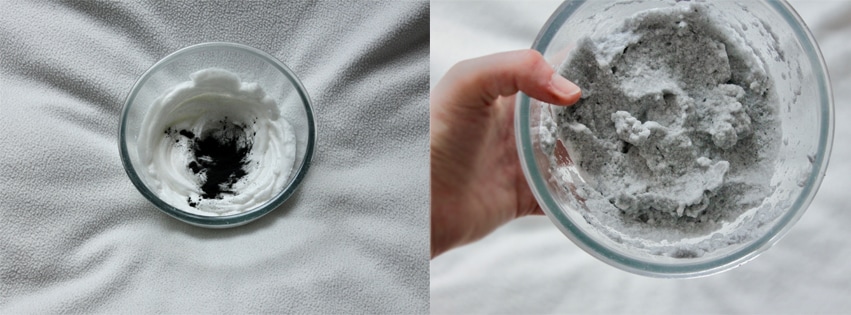
1. Measure out your two tablespoons of coconut oil. Coconut oil is usually pretty stiff making it hard to mix. I recommend softening the oil just a little bit (for example: put it in the microwave for about 10 seconds) once measured out.
2. Add in your two tablespoons of baby shampoo - then mix these two together until fully combined.
3. Add in your 13 tablespoons of water and mix until fully combined (it should have a lot of movement now, making it pourable!)
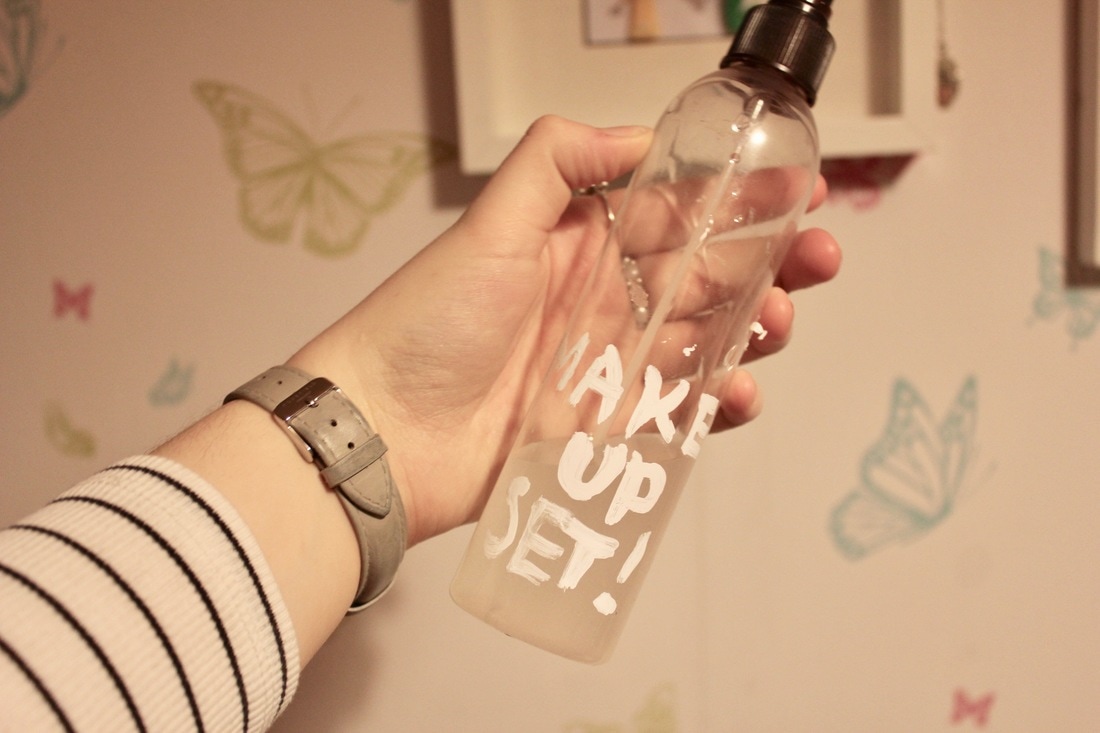
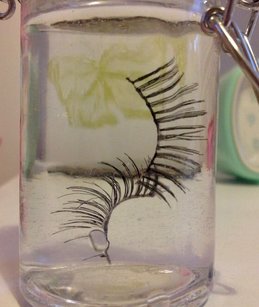
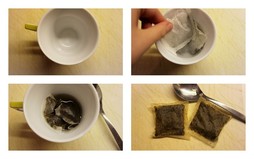
4. Fill your mason jar, tupperware or whatever you've managed to dig out of the cupboard with cotton wool pads until they fill the container up to the top. (In the jar I used I got around 13 in there)
5. Pour your mixture into the jar on top of the cotton pads. This will seep through the top pad and the collection around the sides of the pads will be soaked up all around the product you've just created.
6. Leave to soak for 10 minutes and the pads are ready to use. Be sure to use a jar with a lid so the pads won't dry out which means they can last you until the very last one!
2. Add in your two tablespoons of baby shampoo - then mix these two together until fully combined.
3. Add in your 13 tablespoons of water and mix until fully combined (it should have a lot of movement now, making it pourable!)
4. Fill your mason jar, tupperware or whatever you've managed to dig out of the cupboard with cotton wool pads until they fill the container up to the top. (In the jar I used I got around 13 in there)
5. Pour your mixture into the jar on top of the cotton pads. This will seep through the top pad and the collection around the sides of the pads will be soaked up all around the product you've just created.
6. Leave to soak for 10 minutes and the pads are ready to use. Be sure to use a jar with a lid so the pads won't dry out which means they can last you until the very last one!
Benefits:
Coconut oil is pretty much used in most natural beauty products. It's an antibacterial ingredient which helps kill off any bacteria on your face. It also breaks down all the particles of makeup on your face - even waterproof mascara. As well as smelling like peshwari naan bread (which is delicious) coconut oil is extremely hydrating - so it saves time moisturising!
Baby shampoo is designed to be delicate to use on babies (hence the name) so it's kind to eyes and gentle on your sensitive skin. This also helps with the clean up of any makeup residue.
Baby shampoo is designed to be delicate to use on babies (hence the name) so it's kind to eyes and gentle on your sensitive skin. This also helps with the clean up of any makeup residue.
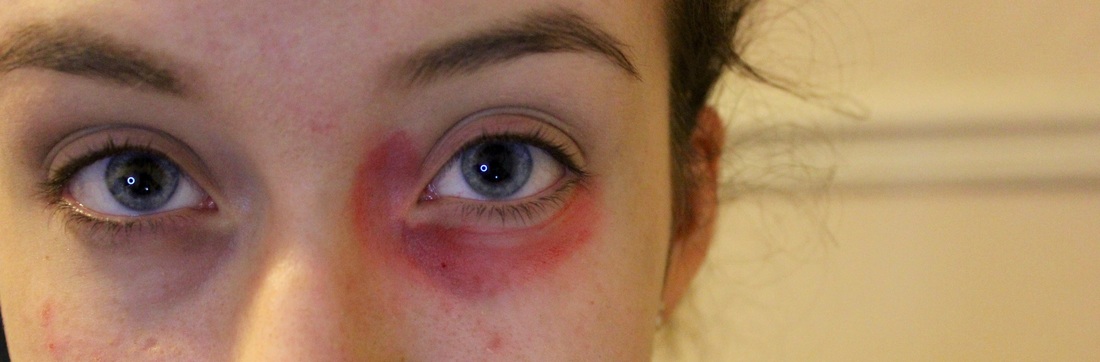
Results:
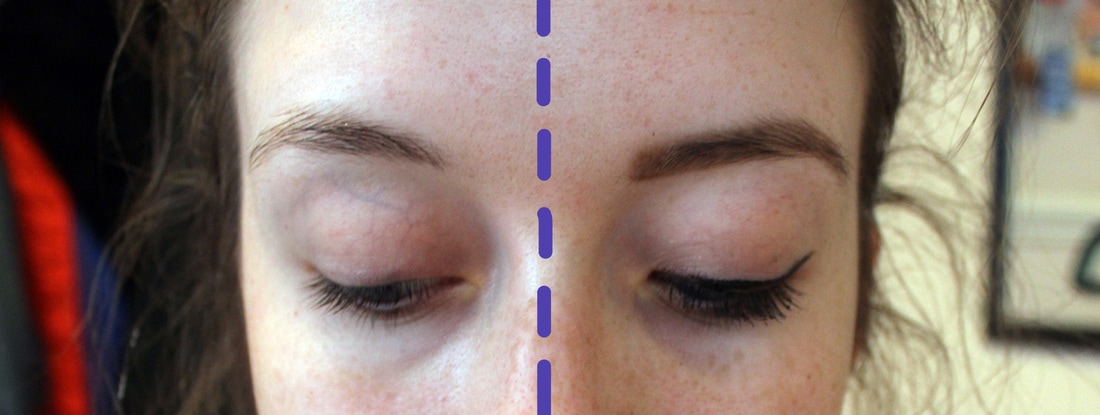
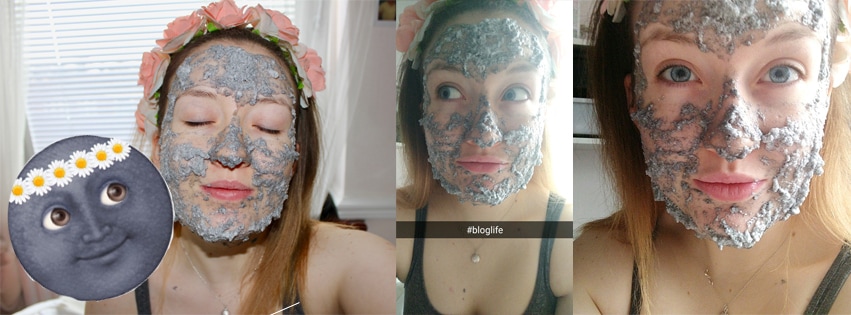
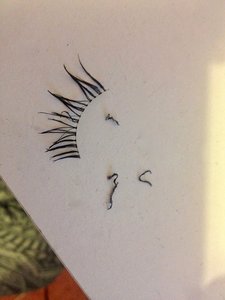
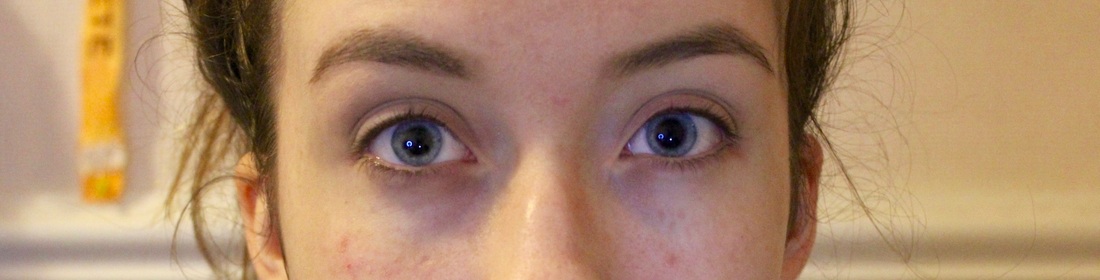
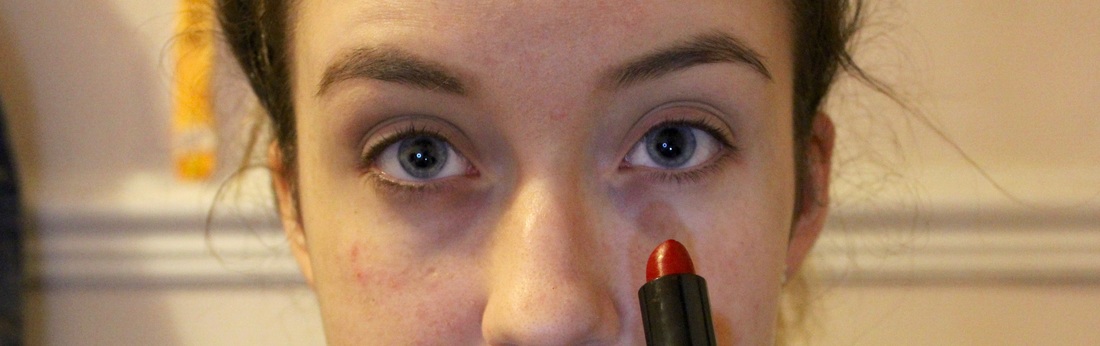
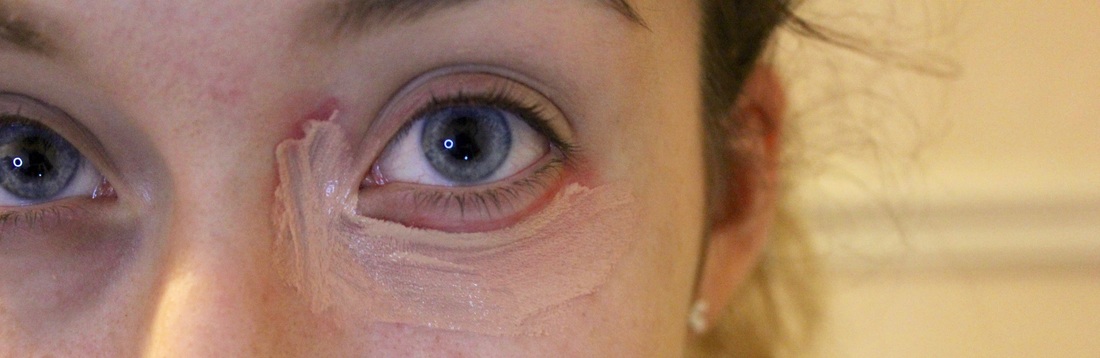
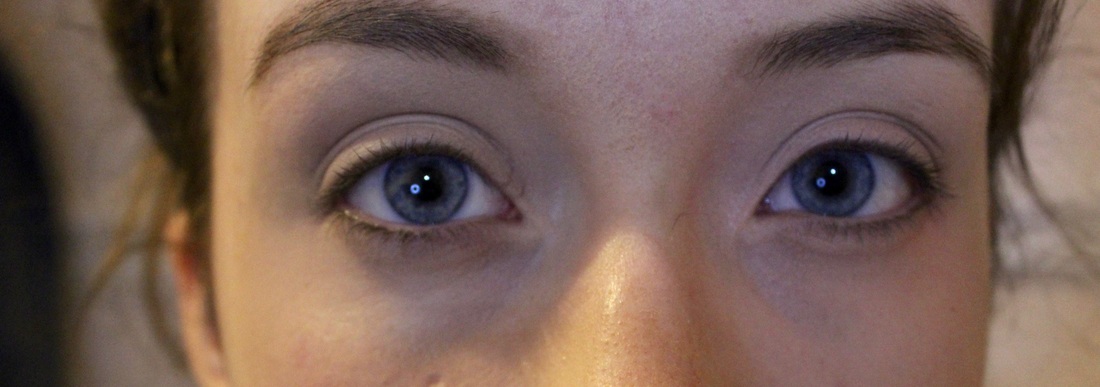
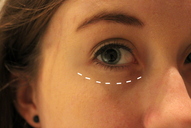
When I made this I only had mascara on, so I filled in my brows, and did a quick eyeliner look. I let it set in for 30 minutes and then proceeded to take it off - and I was amazed by the results!
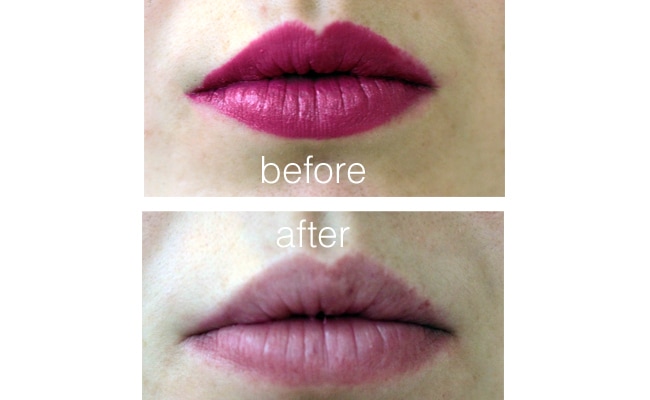
And there you go! The beauty of this is that you can remake this again and again - which is great if you're trying to save the pennies! Remember to do a test patch on your skin beforehand just to be on the safe side as you never know what you could be allergic to!
See you in the next blog post,
See you in the next blog post,


 RSS Feed
